在 Azure functions 使用自定義的 Docker Image
如需在 Azure functions 使用特定的 Lib 版本或第三方套件,例如:ffmpeg,可建立專用的 Docker Image。本篇利用 Node.js 為例分享使用的心得。
基本需求
- 使用 Premium plan 或是 Dedicated (App Service) plan
- 使用的 docker image 必須基於 Azure Functions Base
- 擁有 docker hub 或 Azure Container registry
- 開發環境安裝必要的工具
下面分別介紹幾個步驟
建立 Docker Image 加入需要的內容
沒有 Azure functions 專案,參考 建立和測試本機 Functions 專案 準備具有 Http Trigger專案;
在本機專案的根目錄建立 Dockerfile,並填入 ffmpeg 與 curl 的安裝。
1 | FROM mcr.microsoft.com/azure-functions/node:3.0 |
上述指令把專案中所有的 functions 複製到 /home/site/wwwroot。專案目錄結構需要符合基本規範。
介紹環境變數:
- AzureWebJobsScriptRoot
代表 Azure functions 專案的執行根目錄,也就是 host.json 的目錄; - AzureFunctionsJobHost{__path__to__setting}
設定需要複寫(overwrite) host.json 裡面的變數值,__path__to__settings 可參考說明換成需要的變數名稱,例如:AzureFunctionsJobHost__Logging_Console__IsEnabled;
設定 Azure functions 的環境變數,可以從兩個來源:
- 固定寫在 Docker image:常放一些通用的資訊
- 利用 Azure portal 上的應用程式設定:建議放有安全疑慮的資訊
兩個來源在 functions 執行時組合在 environment variables,以 node.js 為例,可以使用 process.env.XXXXX 的方式來取得;
在測試 docker image 時,建議使用 Http Trigger 的 azure function,因為較能方便測試與除錯。
建立 docker container 與本機測試
docker build --tag <docker ID>/my_az_functions_image:latest .
如果有修改專案,要記得重新建立 image 並送到 regsitry。
本機測試檢查 http trigger 是否被掛起:docker run -it --rm -p 8080:80 <docker ID>/my_az_functions_image:latest
啟動後,利用 http://localhost:8080/api/{http trigger name}?name=pou 檢查 function 是否被掛起;如果預設使用 template 建立的 http trigger 會看到對應的 response,例如下面的 log:
1 | info: Function.HttpGreeting[1] |
使用 timer trigger 要記得啟動 docker 時帶入 AzureWebJobsStorage 的設定值才能正常執行,例如:
1 | // 在根目錄加入 dev.env |
上傳 Docker Image 到 Docker Hub
docker push <docker ID>/my_az_functions_image:latest
上傳完畢後,可以從 Docker Hub 看到上傳的內容。
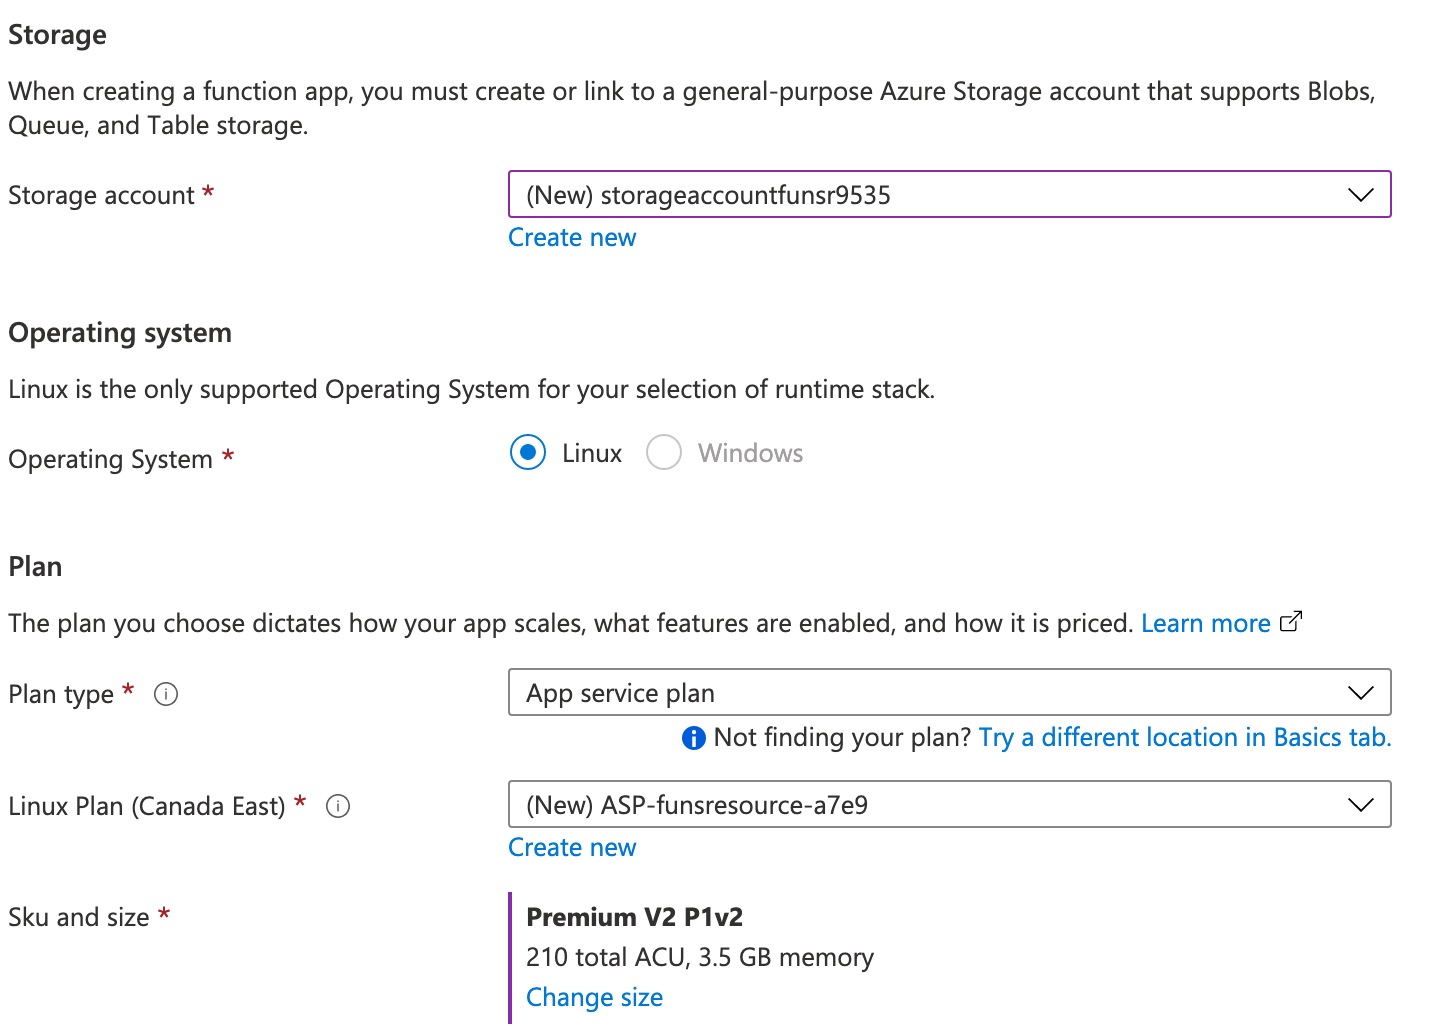
建立 Azure Function
- 選擇 Docker-Container
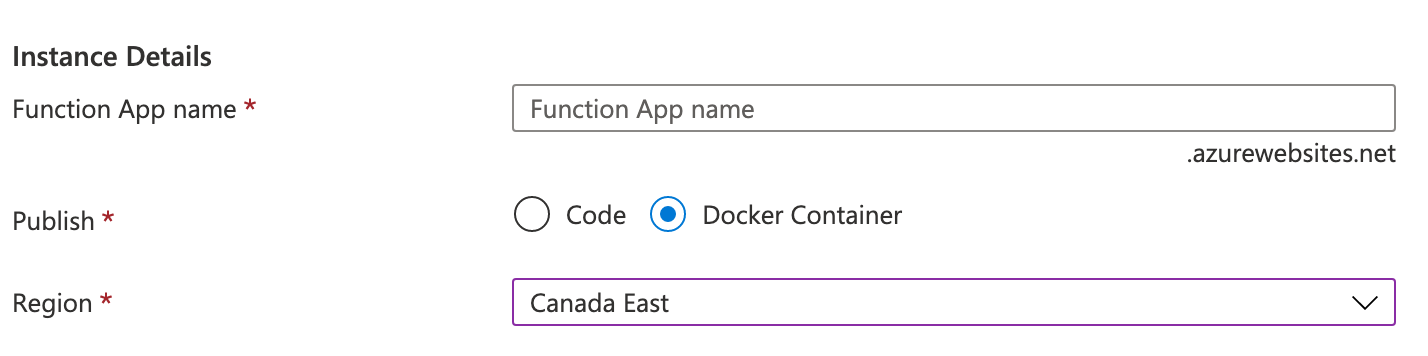
- 建立 Storage account, 選擇 Linux 與 App service Plan(要 premium 喔)
也可以利用 CLI 的方式建立 Azure function 與對應的 resource group。
到 Azure functions 的 portal 把必要環境變數加入
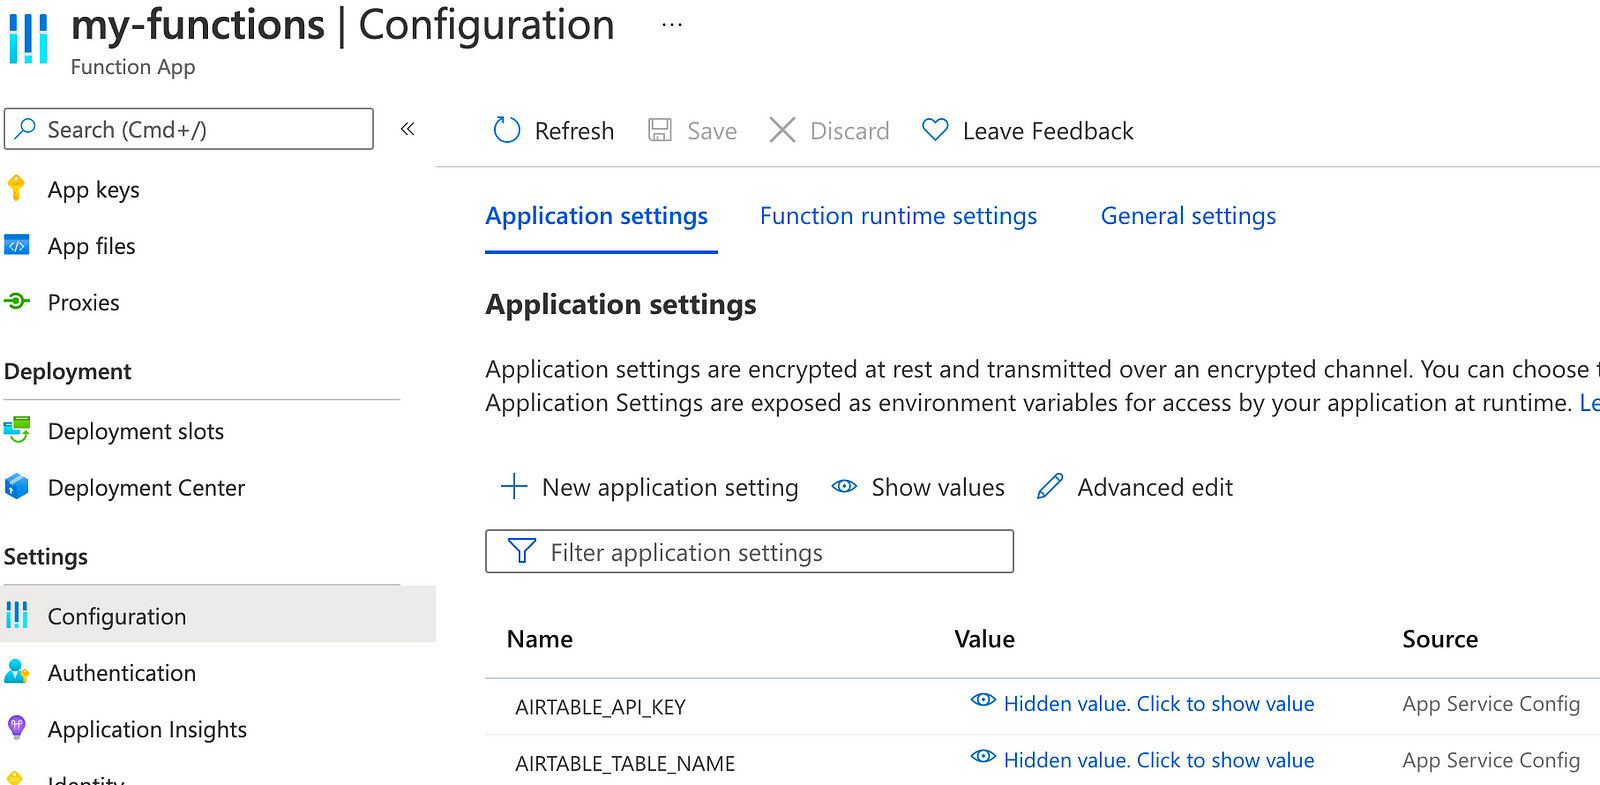
詳細設定可參考 Configure apps in the portal — Azure App Service 與 JavaScript developer reference for Azure Functions。
部署到 Azure functions
az functionapp create --name <APP_NAME> --storage-account <STORAGE_NAME> --resource-group <RESOURCE_GROUP> --plan myPremiumPlan --deployment-container-image-name <DOCKER_ID>/azurefunctionsimage:v1.0.0
其中的
設定 Azure functions 使用的 Storage connection
設定 Storage connection 可參考下面的指令,或是使用步驟 4 的介紹從 Azure Portal 上進行設定。
Storage connection 的值必須設定在 AzureWebJobsStorage。
1 | // 取得 Stroage connection |
確認 Azure Function 是否正確被執行
在步驟 2 介紹使用 HTTP trigger,所以可透過下面的連結來做測試https://<APP_NAME>.azurewebsites.net/api/{http trigger name}?name=pou
以上是紀錄把 Azure Function 用 Docker Image 包裝起來的方法。
如果大家有遇到其他問題歡迎一起討論。
Reference
- Quickstart: Create a JavaScript function in Azure using Visual Studio Code
- Create a function on Linux using a custom container
- Azure Functions base Images & Github
- Deploy a Docker Container to Azure Functions using an Azure DevOps YAML Pipeline
- App settings reference for Azure Functions
- Override host.json values